Prerequisites
Materials
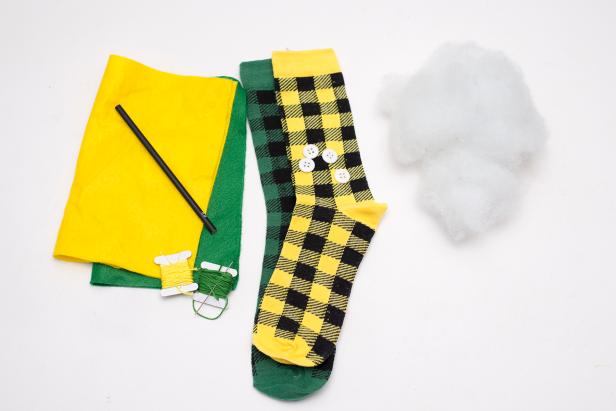
- socks
- buttons
- embroidery floss
- polyester filling
- felt
- scissors
- sewing machine and matching thread
- tapestry needle
- pencil
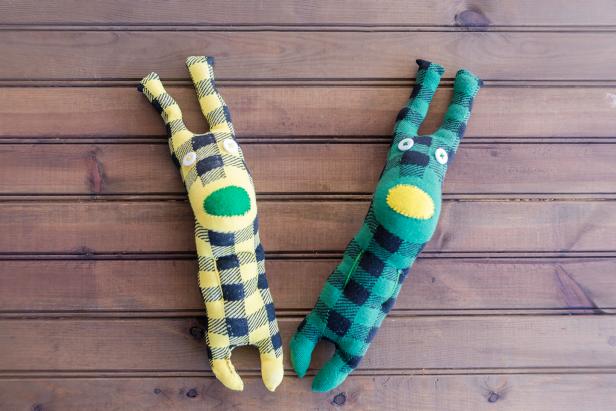
Our boys don't play with stuffed animals — they play with plushies. Apparently, there's a big difference. Stuffed animal or not, an economical way to create fun and adorable characters is to use colorful socks that are either old or missing a mate. Move over sock monkeys, there's a new and easier sock bunny in town you can create in less than 30 minutes.
Description
Create this season's hottest toy out of old, colorful socks.
- Difficulty: Medium
- Cost: Cheap
- Prep time:
- Execution time:
- Wait time: 0m
2 Sew Into Shape
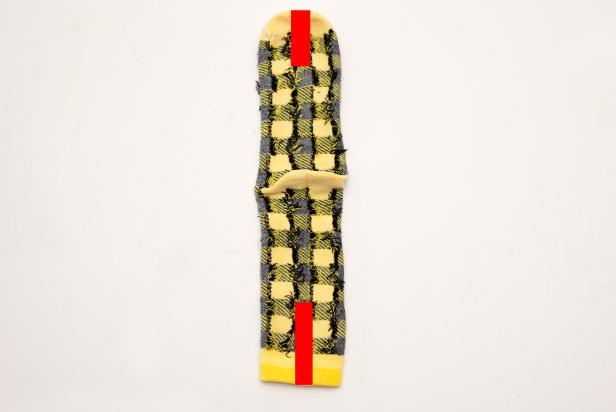
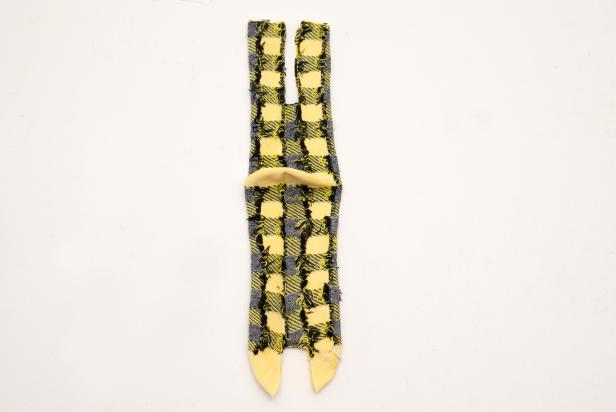
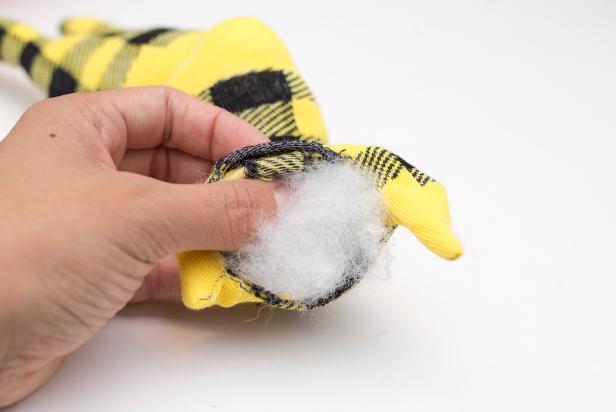
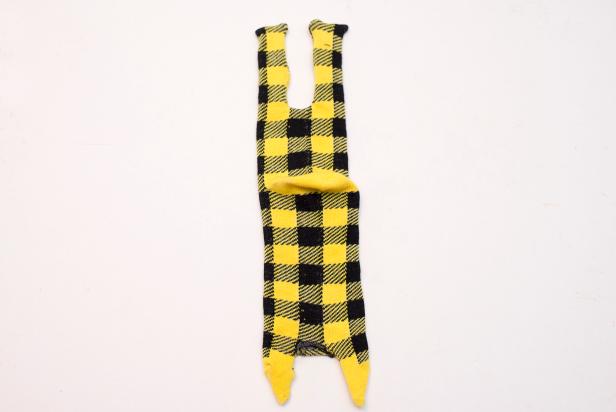
Turn the sock inside out — the toe portion of the sock will be the plushie's feet while the top of the sock will be the ears. You don't have to cut off the cuff of the sock, but keep in mind that it's a bit bulky to pass under the foot of a sewing machine without a walking foot. Cut rectangles out of the top and bottom of the sock as shown in the diagram above (Image 1). Once cut, the sock should look like Image 2. Sew around the ears and feet, leaving the space between the feet open for stuffing.
4 Create Belly Accents
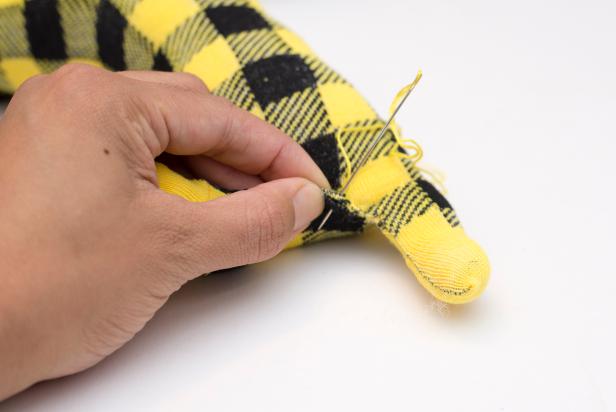
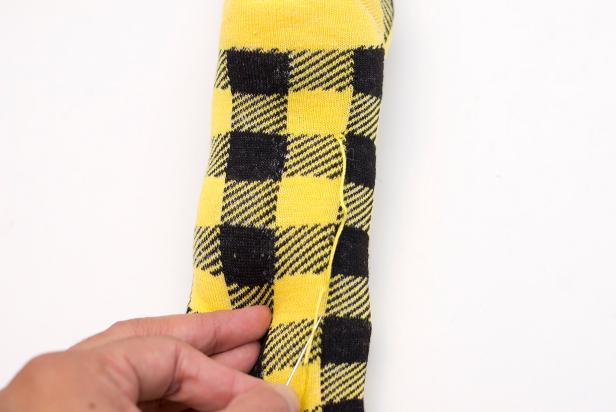
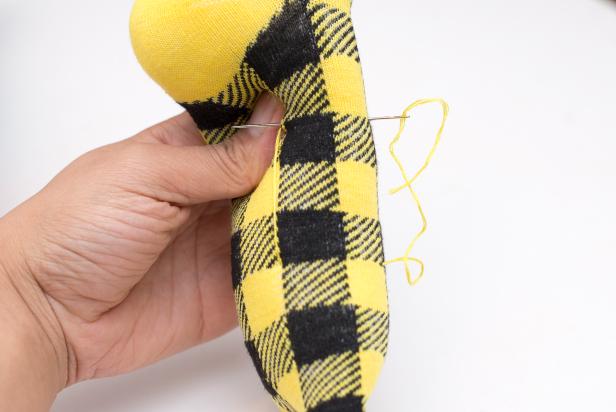
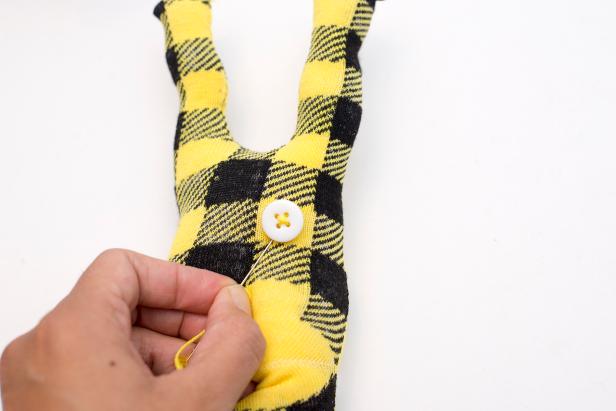
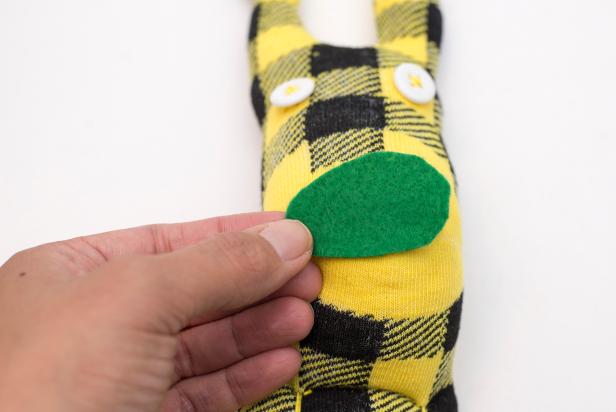
Thread a tapestry needle with embroidery floss. Tie a knot at one end and insert the needle under the fabric on one side of the plushie. Come up about 1/8 inch and go back into where you inserted the needle at the start. This will make a secure knot. Go down about three inches and insert the needle all the way through to the back of the plushie. Bring the needle out through the other side and bring it to the back of the first stitch and insert it through. Pull the thread snug and tie it off. Cut off the excess floss. Repeat on the other side.
